
Compressed pig art
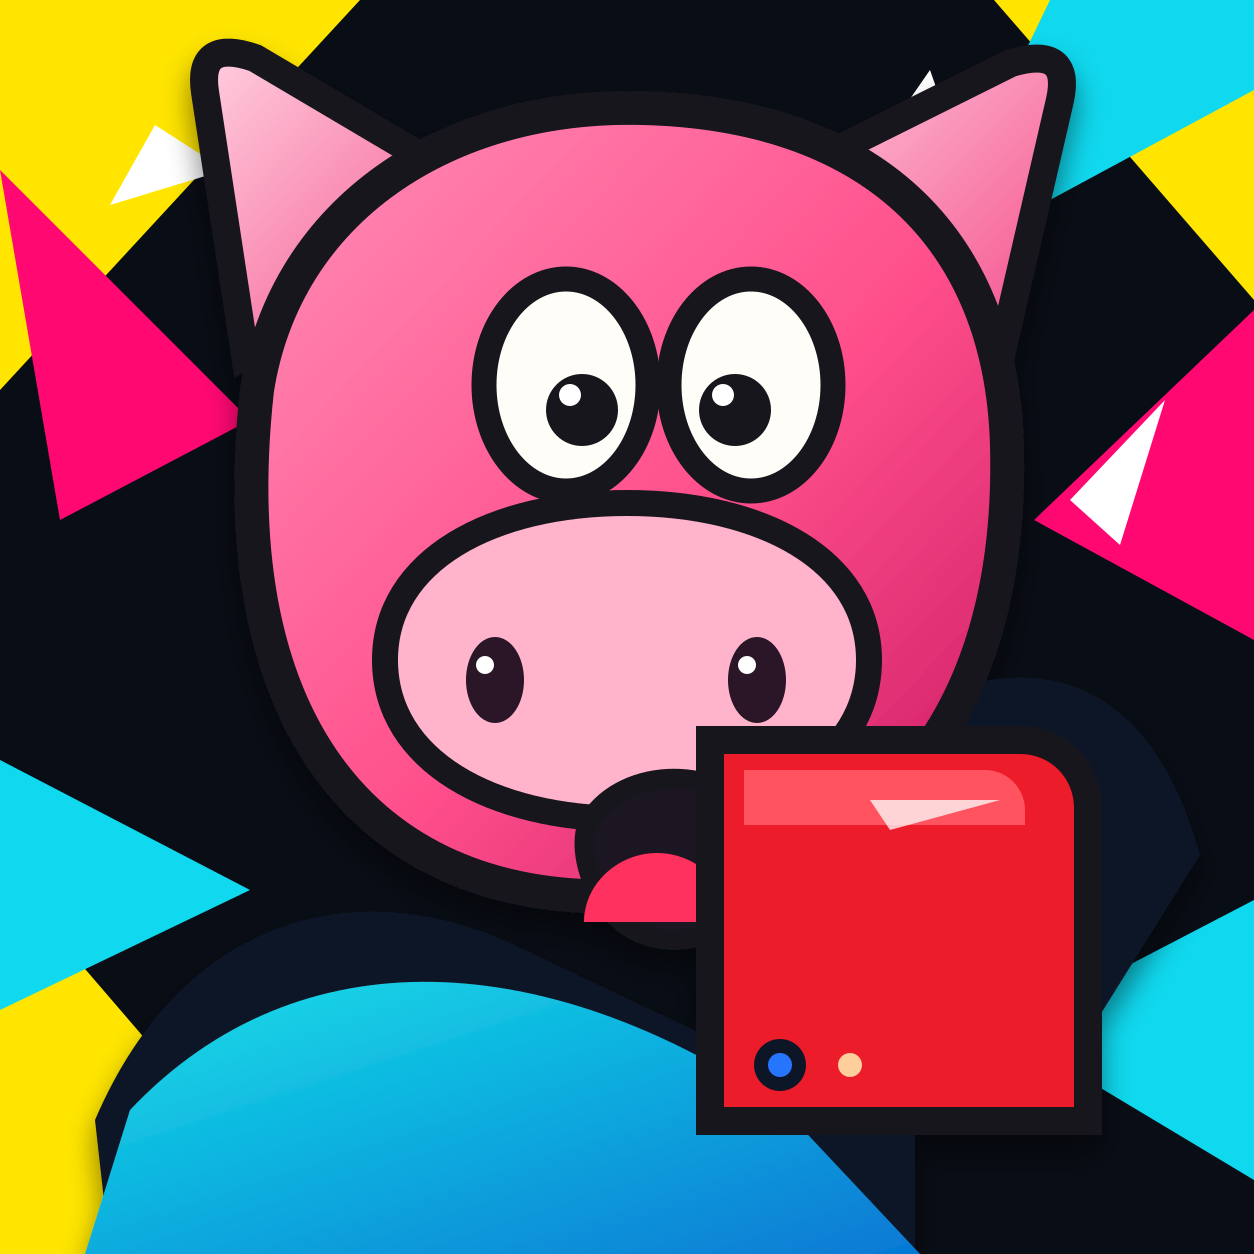 Clean pig art
Original158 KB
 Low-quality JPG
Result24 KB85% saved
Make any image look intentionally bad.
Upload a photo and make it blurry, pixelated, compressed, repeatedly shared, or deep-fried. Preview the result and download a JPG. For the dedicated low-quality workflow, use the Low Quality Image Maker.
Upload PNG, JPG, JPEG, or WebP Download JPG Original shape preserved Longest side up to 4096px
Compare a clean image with compressed, pixelated, and deep-fried results before editing your own file.
Clean pig artLow-quality JPG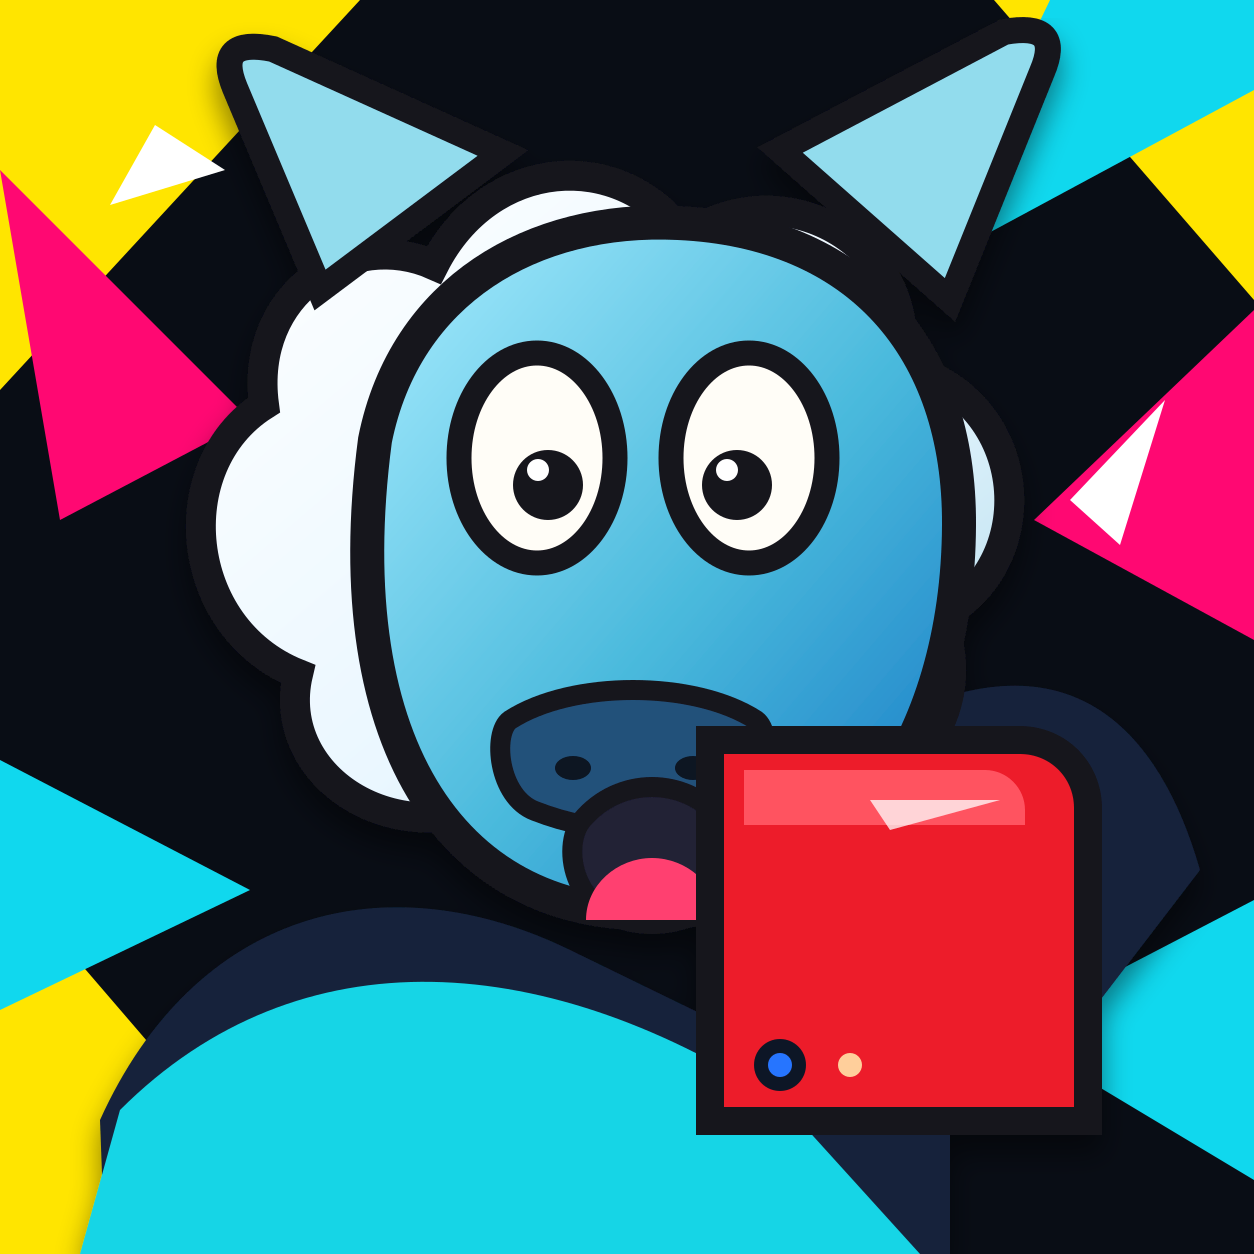 Clean sheep art
 Large pixel blocks
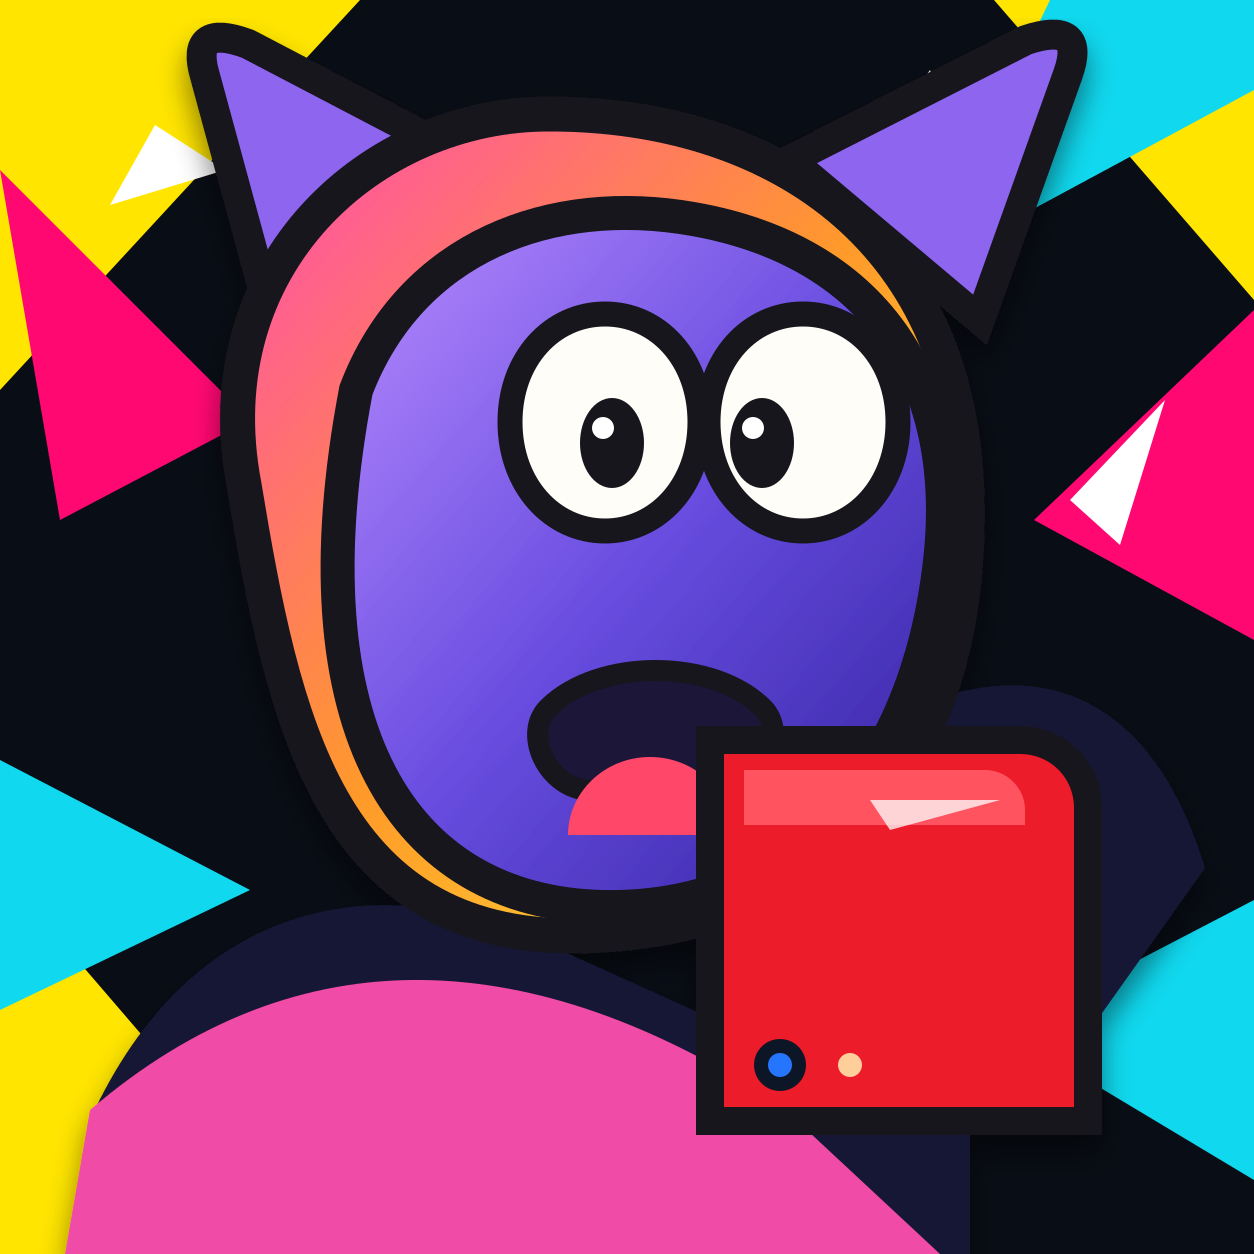 Clean pony art
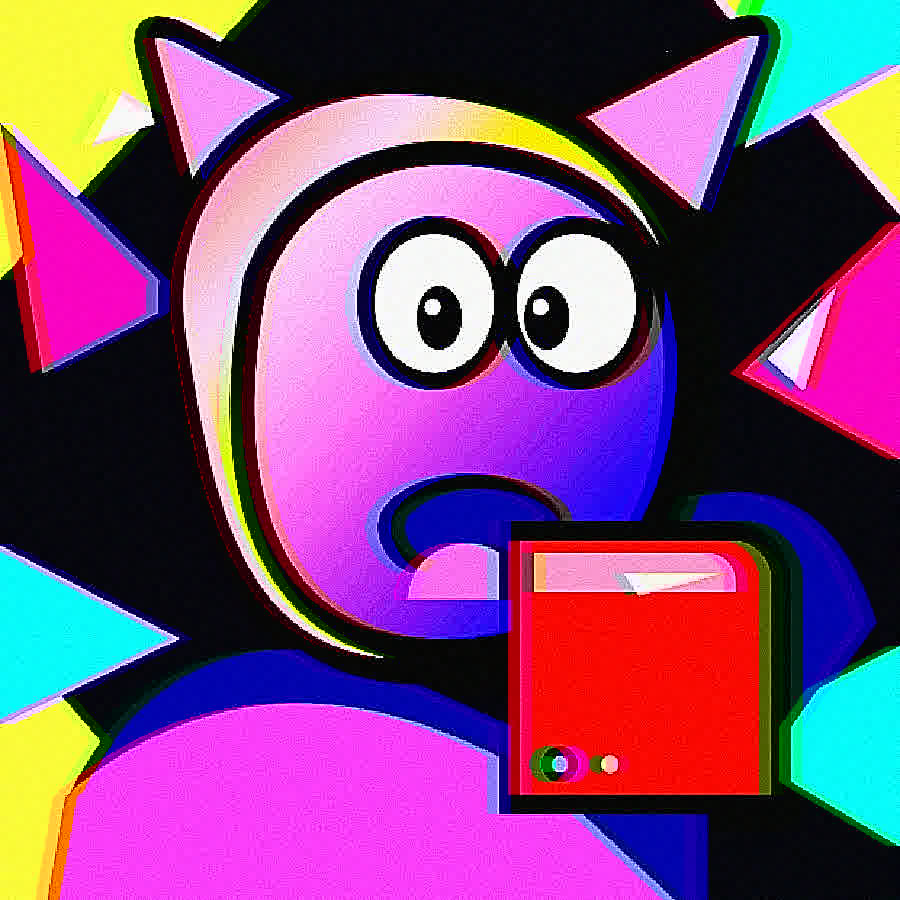 Extreme color and noise
The bad quality image maker includes five starting styles. Choose the result you recognize, then adjust how strong the effect should be.
Adds visible JPEG compression and can reduce the image dimensions. Use it for a rougher copy that often takes less space.
Softens sharp edges and small details. It works well for an out-of-focus photo, softened screenshot, or deliberately unclear image.
Turns fine detail into visible square blocks. Use it for blocky reaction images, retro graphics, avatars, or partly hidden details.
Combines compression, light blur, pixels, and noise to imitate an image passed through group chats or saved and reposted repeatedly.
Pushes color, contrast, noise, and compression much harder. Choose it when you want a loud, crunchy, intentionally over-edited meme.
People do not always want a cleaner image. Sometimes the goal is a smaller upload, a believable repost, or a joke that looks deliberately over-edited.
Make a clean picture feel funnier by adding visible compression, pixels, rough color, or a deep-fried effect.
Make a crisp screenshot look like it has been saved, forwarded, and compressed several times.
Lower JPEG quality and image dimensions when an online form, message, or marketplace rejects the original file.
Create a blocky, blurry, old-web, or deliberately low-resolution version while keeping the face recognizable.
Take the polished look out of a photo so it feels copied, older, or more natural in an informal post.
Increase saturation, contrast, noise, and compression when normal image damage is not exaggerated enough.
Use this bad quality image maker in three steps. No image-editing experience is required.
It is made for a quick browser task: open the page, process one image, and save the result.
Processing happens in your browser. The tool does not need to upload your image to a server.
There is no account, login, subscription, or setup step before you can use the tool.
The result is yours to save as a JPG without a logo added on top.
Use the same upload, preview, effect, and download flow in a modern browser.
It is a tool for deliberately adding compression, blur, pixels, noise, or lower resolution instead of improving an image.
A bad-quality image has lost visible detail or clarity. It may look blurry, blocky, compressed, noisy, or too small. Those problems can happen accidentally after resizing, messaging, or repeated uploads; this tool lets you create the same look on purpose.
This homepage is the brand tool for making an image look intentionally bad. For a dedicated lower-quality workflow, use the page linked below.
A broad description for an image that looks worse because it is compressed, blurry, pixelated, noisy, low resolution, or a combination of these.
The image has fewer pixels in width and height. Enlarging it makes details look soft or blocky because there is less visual information.
The image is saved with less detail to reduce data. Strong compression creates rough edges, blocks, and uneven color around text and objects.
Practical answers about privacy, formats, image size, output quality, and downloads.
Upload an image, choose a starting look, then move the Make it look worse slider until the preview looks right. Choose Lower quality for compression, Pixelated for blocks, Blurry for soft edges, or Deep fried for a louder meme result.
No. The image is read and processed locally in your browser. A server upload is not required for the preview or JPG download.
You can upload common browser image formats including PNG, JPG, JPEG, and WebP. The processed result downloads as a JPG.
The tool is free to use, does not require signup, and does not add a watermark to the downloaded image.
The tool keeps the original aspect ratio and does not add square padding. If the longest side is larger than 4096 pixels, it is reduced to 4096 pixels for reliable browser processing.
Yes. Choose Deep fried for strong color, contrast, noise, and compression, then adjust the strength before downloading.
Often it will, especially when you lower JPEG quality or output dimensions. The preview shows the original and result sizes, but the tool does not guarantee a specific target such as 100 KB.
Yes. Start with Lower quality and use a moderate strength. Avoid large pixel blocks and heavy blur when names, faces, products, or screenshot text still need to be understood.
Low quality describes the overall damaged look. Low resolution specifically means fewer pixels. An image can have large dimensions and still look low quality because of strong JPEG compression, blur, or noise.